Tiny Pandora Crafting Boutique
Cane by Numbers Kit
Cane by Numbers Kit
Couldn't load pickup availability
Share
Enter Free Shipping in Discount Box at Checkout
Does cane-making seem a little too complicated? I feel ya! I was captivated by the concept, but baffled by the process. Thats why I’ve spent the last 14 years breaking it down.
Now you can make complex canes in a simple way. Use your template to determine the shape. Then draw your motifs with the stencil. Color motifs witj your favorite palette. Mix your colors, cut the pieces, stack and wrap. Now, fill in the background.
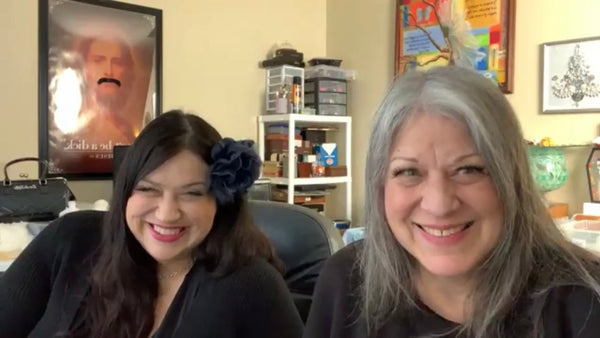
I know caning can be discouraging; so your purchase includes lots of help, every step of the way. I’ll be sharing design ideas and offering tips LIVE on Facebook, Fridays at 1pm Eastern on Cane by Numbers with Pandora and Elaina. You’ve got this!
You will receive 2 Shape Templates, 1 Motif Stencil, 6 Motif Multi-Cutters, Release Powder & Plush Brush.
INSTRUCTIONS-BASIC CANE: Choose your shapes and colors. Draw a square or triangle with shape template. The shape templates are 3.5” to accommodate big canes; but I take mine down to about 2”. With your motif stencil, add shapes within the borders. Color them in. Make several samples-it’s fun!
Once you’ve chosen your palette, mix your clay colors.
Quantity: I use 4 ounces of clay (2 packs) for each color I want to include. (These can be mixed or straight from the package.) Make a sheet of clay on the thickest setting. Roll over it to stick it down. I recommend a glass or tile work surface. Dust with release powder. Your motif cutter makes 6 pieces, which will be 3/4” high when stacked. You’ll want at least 3 stacks, put together, to make a 2.25” high cane. Smooth your stacks and wrap in a #5 sheet of the same color. (We will cover wrapping variations on Cane by Numbers with Pandora & Elaina as the weeks go by.)
Place your motifs loosely within the border of your shape. See where fill is needed. I create fill by using an extruder. I leave the die off and just screw on the cap. That gives me a perfect cylinder I can cut into symmetrical pieces for even fill. DO NOT WRAP THE CANE. The sides create pleasing negative space instead of harsh lines. You’re not going for star shapes or a grid appearance.
Let your cane rest for several hours or, better yet, leave it overnight. You can draw more designs or mix more colors to while away the time.
Reduce the cane to twice its length for a square or three times its length for a triangle. Assemble 2 combined pieces for a square. Cut in half and match. Assemble 3 combined pieces for a hexagon. Cut in half and match. You did it!
This is a beginner method. We will go through MANY refinements and variations during my FREE weekly workshops on my Facebook group. Cane by Numbers with Pandora & Elaina
Color Cubes for Palette Ideas:
https://sarahrenaeclark.com/colorcube/
Color Mixer by Anita Long


